
Testing Photography - the Basics
Okay! Let’s talk about photos. It took me forever to write this blog post, frankly because I do not feel like any sort of expert in photos. I’m not. I use my iPhone camera and some free apps, a couple cheap presets, and that’s it. I also feel like I royally suck at flatlays and all of my photos look the same, because I take them in the same few spots around my house. Nonetheless, I am regularly told that my photos are great for pattern testing purposes… so, that’s what we’re going to talk about! How to get good-for-pattern-testing-purposes photos. And then later, I’ll connect you with some makers who really ROCK their photos to share their tips on how to take things up a level.

♡♡♡
First and foremost, here’s what NOT to do for testing photos:
Do not take photos in bad lighting where you can barely see what’s going on. Take a picture during the daytime or turn on some damn lights!
Don’t overexpose, over-filter, over-clutter, or otherwise generally overdo it. We want to see the design… that’s it. Keep it simple.
Do not hide certain design aspects that are key to the design’s uniqueness. That means we don’t focus on a stockinette body and completely hide the cool i-cord double straps or the unique lace detail in the design! Show us what’s special about the design.
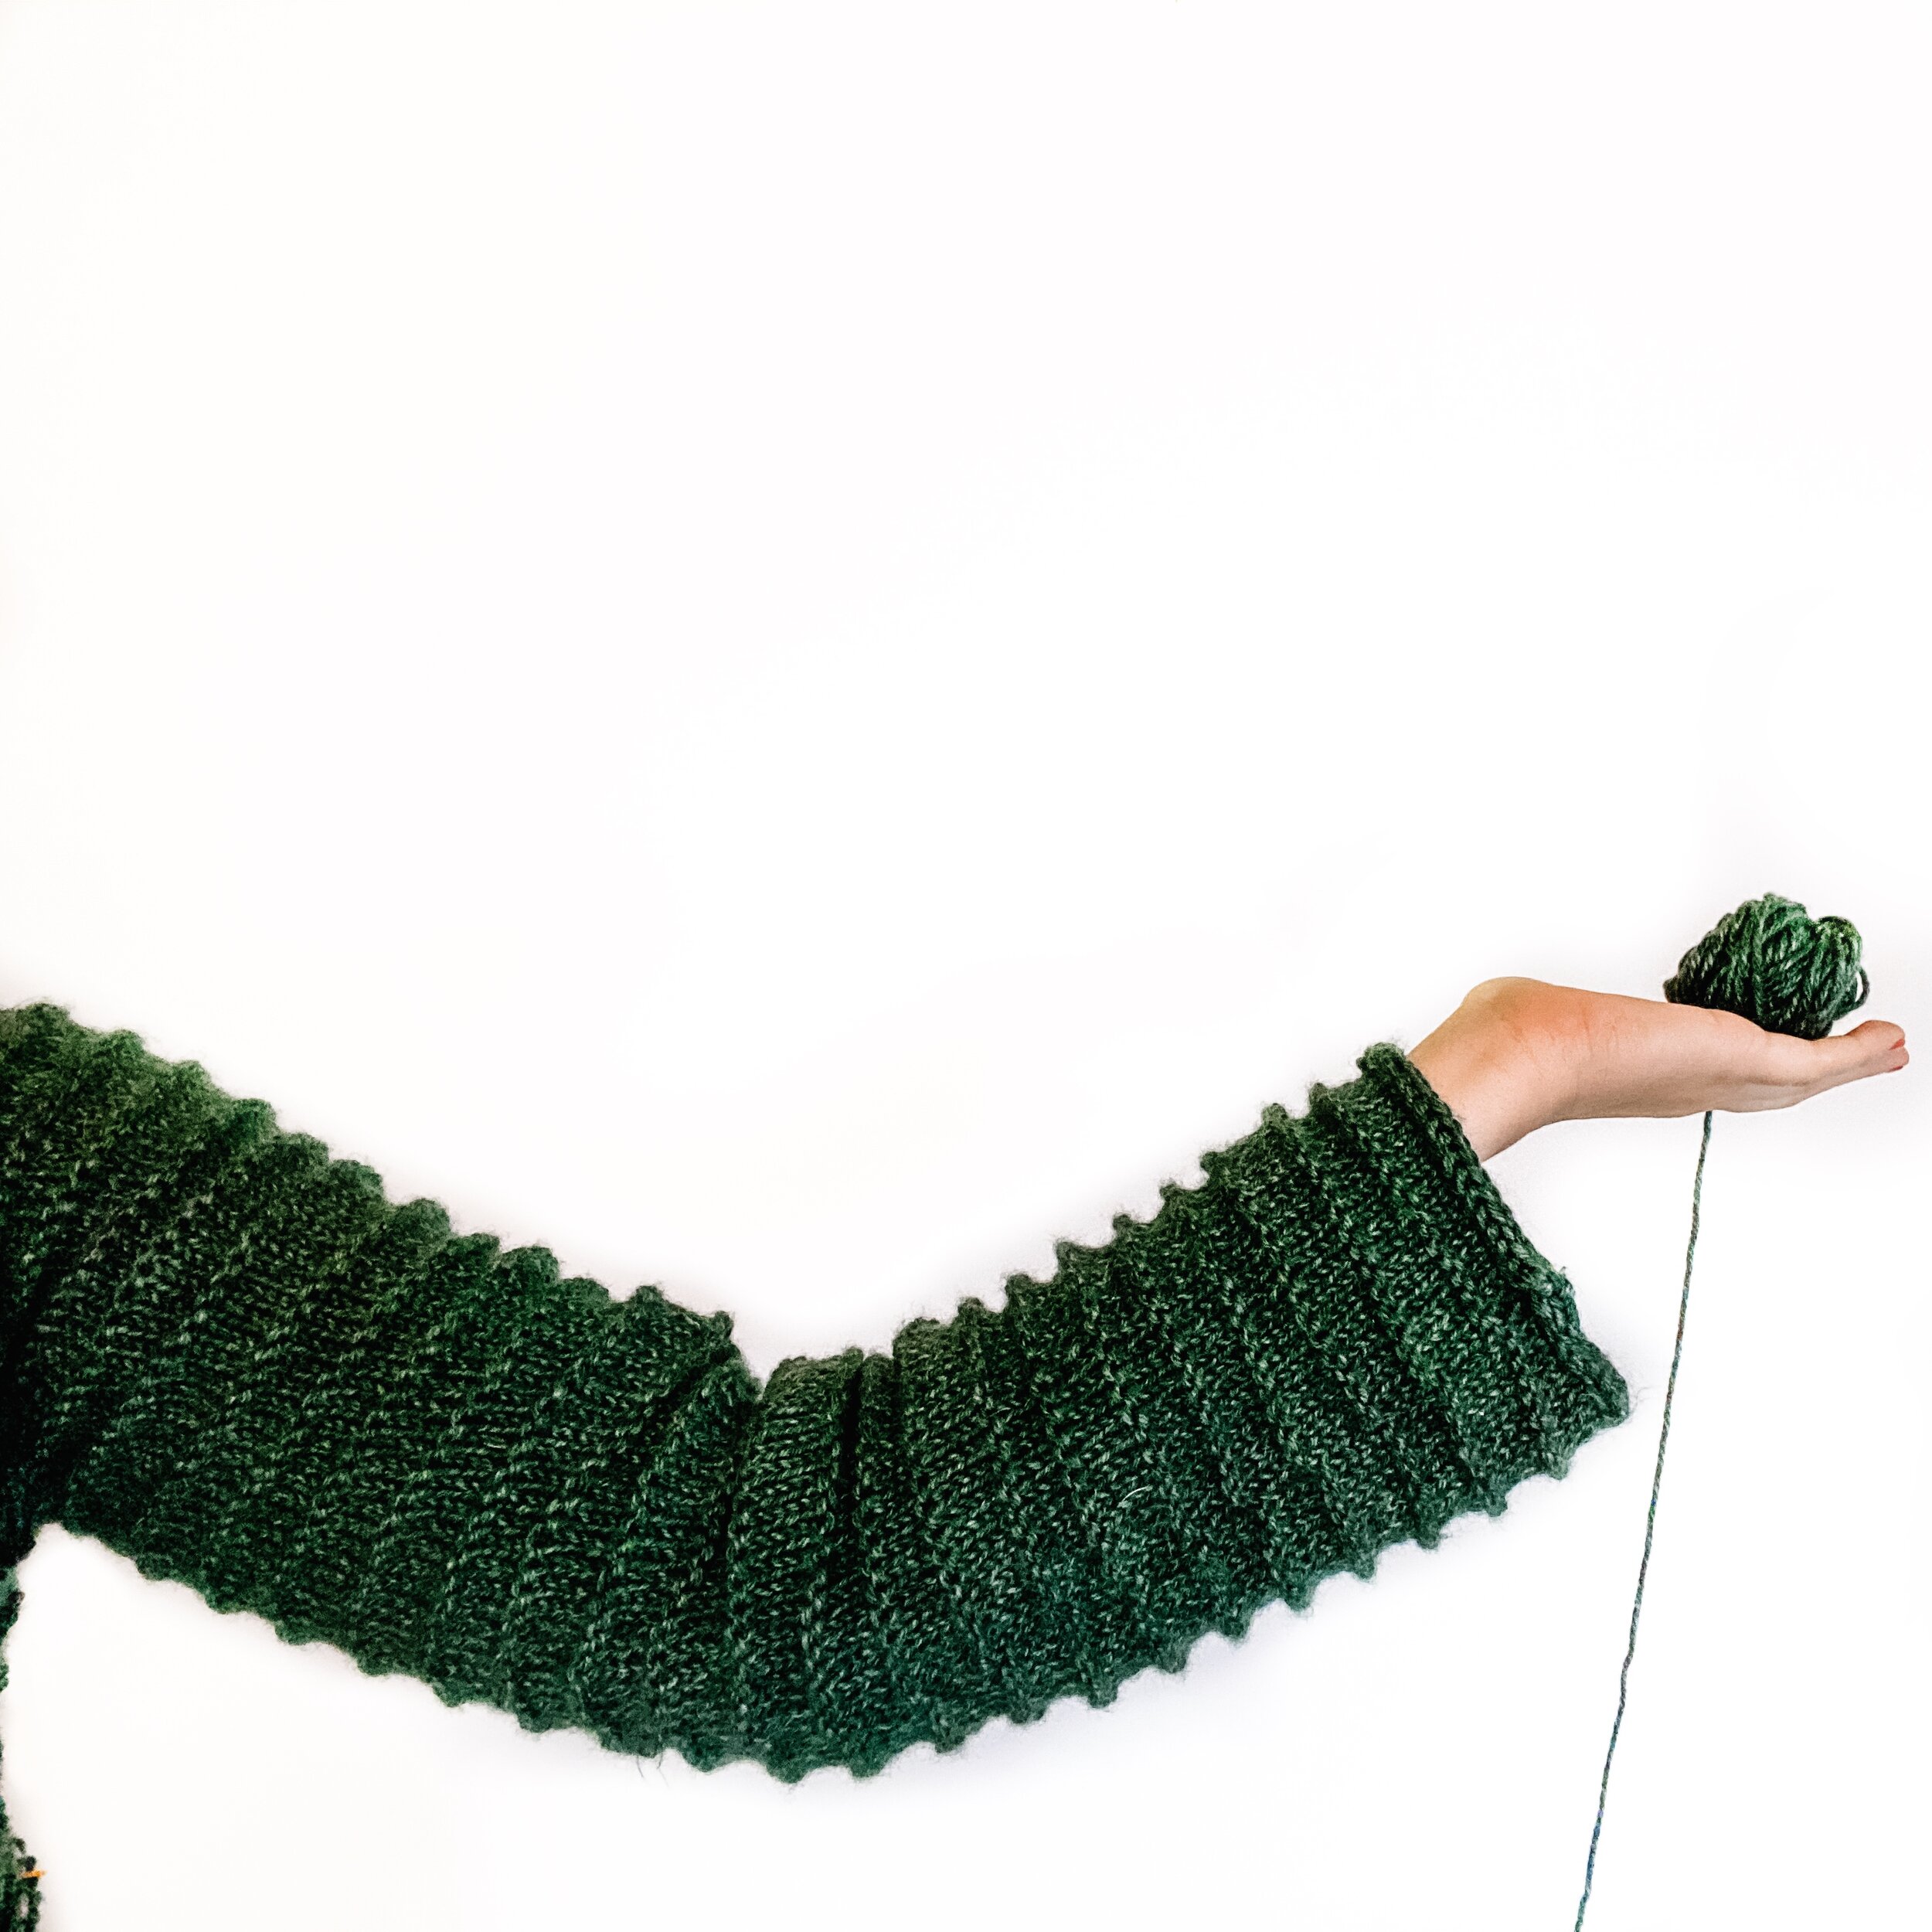
Do not only post a flat lay, if it’s a garment. We want to see it on your (or a) body!
Do not post pictures of the pattern PDF! Seriously, the heart attack y’all give me sometimes when you post your WIP photos and the damn pattern you’re testing is visible. Stop it! Even if you can’t see the whole thing, you’re potentially giving away details of the pattern that should only be available to those who purchase it later. Move the paper, then snap the photo.
Now, if you’re sitting there thinking, “I can’t take good photos because I do not have any cool places to take photos” … think again. Here are some of my primary photo backdrops around my house… they ain’t cute:


So how does that become this?


It’s pretty simple.
You will need a photographer or a tripod. No arm held selfies! If you’re like me and horrified by the thought of your partner taking your photos, or don’t otherwise have someone handy, it may be worth investing in a cheap tripod to hold your phone. I bought this one for under $20. I recently upgraded to this one for $30, which reaches taller and allows you to turn your phone vertically too, but you will need to buy a separate bluetooth clicker for this one.
You should also download some free photo editing apps. I exclusively use the free versions of Adobe Lightroom and Snapseed.
Adobe Lightroom:
Adobe LR is essential if you’re going to buy some preset filters (see below), but there are general editing features on there even without presets. Here are some of the tools I use the most on Lightroom:
Presets: A cheap-but-not-free option to help with your photos are Adobe Lightroom Presets. Presets are pre-loaded editing features that you can quickly apply to your photos to give them a certain vibe or help spice/clean them up. A few of my favorites are: Clean Tones, Indoor Film, and Indie Tones, but there are tons to choose from so take a look and choose what works for you! Make sure you buy the MOBILE presets if you want to be able to edit on your phone! There are desktop ones too, and they are not interchangeable.
Please note that many presets can dramatically change the coloring of your photos. If you are using a handdyed yarn – especially if it is a collaboration with the yarn dyer for a test – please make sure your photo edits are not drastically changing the color of the yarn. If it does and you really want to post that version, please make clear in your caption that this is not the true color of the yarn. I think it would be a great idea to post a picture of the true color either in a carousel or in your stories too, to be safe. Many people look to tester photos to see what yarn to buy.
Here is an example of how the same photo can look drastically different depending on the applied preset. This is the same photograph with two different presets. The photo on the left best represents the true color of the yarn. The photo on the right does not. This was for a collaboration with a yarn dyer. If I had posted the photo on the right, I would not be doing the customer OR the yarn dyer any favors. That color yarn does not exist. Everyone would be disappointed. Thus, it does not do me any good to post that photo, even though I may like its moody vibes. If I really want to post it, I would make clear that this photo has been edited and does not reflect the true color of the yarn, and then make the true color of the yarn visible via my Instagram Stories or in a carousel.

Color - Mix: This is a great way to make sure the color of your photo looks as close as possible to what you’re seeing with your eyeballs. Often the photos we take do not look like what we’re seeing. With this feature, you can tone up/down certain colors in the photo. Is the photo looking too yellow? Tone down the saturation of the yellow. Is your blue not coming through? Tone up the blue.
Effects - Vignette: Most of my photos have a slight vignette around the edges to make the edges less bright. This helps me keep my grid a little bit moody without having to post dark photos that make it hard to see the design.
Snapseed
Snapseed has some presets built in, as well as other great features. Here are some of my favorite features to use on Snapseed:
“Looks” – Snapseed’s presets: I love Portrait! Smooth & Pop are also good. In my opinion, Morning & Bright are only for special occasions. These ones tend to make photos look overexposed and too bright to me.
Healing Tool: This is a great way to get a smudge out of a wall, hide an annoying outlet, or fix other minor issues. Be careful though! This one takes some precision to make it look natural. Get used to using that undo button.
Brush: This is a paintbrush that allows you to tone up/down the exposure, temperature, or saturation of only portions of your photo. Sometimes there’s a shadow or something that makes just one part of my photo too dark – this helps. Or the orange in my fence is just NOT the vibe I want, so I tone down the saturation of the fence. Another great tool in this free app.
Those are just a few of my favorite features of the two apps I use. There are many more features! Play around with them. Just try to make sure your photos still look well-lit and natural, overall. Once you get comfortable using these apps, they can really up your testing photography game.
Here is an example of how one photo can be changed with these two apps:


The first photo is the original, the second is with a preset in Lightroom, and then the third is using the exposure brush on Snapseed to whiten the wall and remove the shadows.
♡♡♡
Once you have the photographer/tripod and the editing apps ready, just start taking pictures! I use the camera on my phone. Snap several more photos than you plan to post! Make sure the lighting is good. Move around to a few different locations, try different poses. I always end up taking at least 10-20 more photos than I keep (okay, let’s be real, there are rarely less than 40-50). Most of them will be total duds. That’s okay! If I am lucky, I will get one good one I like out of every 10-20 photos. So, keep on snapping! Give yourself some material to choose from — you can always delete it. Then, comb through your photos and decide, “Would this look good after some editing?” If it’s a yes or a maybe, keep it. Keep in mind that they often don’t look ready-to-post good at all pre-editing, so be generous with what you keep. Only delete the ones that would not look good no matter how much editing you may do. Then, open your Lightroom or Snapseed apps and start playing around with the ones that you kept. Voila!
That’s really all I have for you for now! Hopefully this helps. I am hoping to bring you a few more posts in the coming months about how to take your photos to the next level, but this should be enough to get you started. Happy snapping!
♡♡♡
Designs pictured in photographs in this post (from top to bottom): The Escalante Tank by @hannahsingleton ft. yarn by @thelittlewolfknits; the Trestle Trail Slouch by @knitbrooks ft. yarn by @feistyfibres; the Soundwave Shawl by @by.stephanie.erin ft. yarn by @feistyfibres; the Cinna Cardi by @mavencrafted ft. yarn by @thelittlewolfknits; the Fenna Shawl by @knotbadbritt ft. yarn by @madebyhaileybailey; the Party Punch Shawl by @tlyarncrafts ft. yarn by @hausofwool; the Crosswinds Wrap by @littleredknits ft. yarn by@montana.crochet; and the Cinnabar Sweater by @mavencrafted ft. Heartland yarn by @lionbrandyarn.