
The Application & the First Few Days
In this post, I talk about early tester pitfalls and errors — those that happen even as soon as applying for a pattern test. Avoiding these small issues can make a huge difference in your success as a pattern tester and in the designer’s experience throughout the pattern testing process.


♡♡♡
The beginning of a new test can be a stressful time for designers. They are in the final stages of turning their brainchild into reality. They are scrambling to get the pattern in shape to send out to potential pattern testers, crossing their fingers that everything will make sense and there are not too many errors. And they are nervous about finding enough testers for each size, even potentially worried nobody is going to like their design or apply to test at all. Then they put it out there… and inevitably, something happens that makes the process even more stressful. A link doesn’t work. There’s a typo in the gauge swatch instructions. Their application is missing an essential question. You name it.
Some hiccups and issues are bound to happen, but my goal for this post is to help pattern testers make some minor tweaks on their end to help reduce the chances that they are the cause of any additional stress for the designer during this early stage.
♡♡♡
Let’s Talk About the Application
First: Make sure you are prepared to apply before you apply. It is time consuming and frustrating for designers to have to sort through dozens of applications that do not even contain the information they need to make adequate tester selection decisions. If it is a garment, know your actual bust size. Always try to have an idea of what yarn you want to use, just in case the designer asks about that. Be prepared to list past tests you’ve completed by pattern name and designer, as well as having the links to your Instagram and Ravelry profiles (I keep a note that I can copy and paste from in my phone). Keep in mind you can always open the application link, see what information they need, and then come back to it when you are prepared to fill it all out.
Second: This is specific for garments, but I am going to re-emphasize that you should know and apply based on your actual bust/body size. Pattern testing is not the time for you to decide you want to size up because you generally prefer garments to be a baggier/looser fit. Pattern testing is not the time for you to size down because you generally prefer a tighter fit. The designer is looking to test a design with a specific amount of positive or negative ease. When you apply for a size or two up or down, the designer does not get the feedback they need about the intended fit of the design. Don’t be this person! If you want to make it looser or tighter than the intended design, wait until the pattern comes out and then buy it. [And designers, please try to make sure it is clear in the application what size someone should be applying to based on their body size & the intended ease of the design.]
Third: Please remember the size you applied to test! This applies for garments, beanies, anything with multiple options in the application. Designers need testers for each size offered, and they are counting on you to test the size you applied to test. Keep a note in your phone or on a notepad of the test you applied to and what size you applied to test. Do not depend on the designer to tell you what size you applied to test when the test starts (unless you offered to do more than one size). There is already so much going on at the beginning of a pattern test, and having to remind 10+ people what size they applied to is not something you need to add to their plate.
*Pssst…. For garments, if you are applying based on your actual body size per the tip above, it should be easier to remember what size you applied to test. 😉
Piggybacking off of that tip, also stick with the size you applied to test! If you applied to test a 2X size, but then you come to find out that the pattern already built in positive ease, so really, you want to be testing a medium or large… you cannot just choose to cast on the medium or large. As I mentioned above, designers need testers for each size, and they select testers to fill each spot. If you agreed to test the 2X, you need to test the 2X. Doing otherwise will leave the designer with too many testers in one size and not enough, or potentially no testers in another size. If you really think you need to change sizes, let the designer know before you cast on a different size. They may be okay with it, but the designer may also need to find another tester for the size you applied to test, and you may need to pay for the pattern since you were not able to complete your testing duties for the size needed.
Overall, what this means is that you need to apply with purpose. Figure out the intended ease of the design, know your actual body size, and choose a size you will be comfortable and capable of testing at the application stage. Do not submit that application until you have figured out the right size for you and made a note of it for your personal records.
♡♡♡
Let’s Talk About the First Few Days of Testing
Although I’ve never put a design into testing myself, based on my experience and interactions with designers, I think it is fair to say that the first few days of a new pattern test are some of the most anxiety-induced and/or stressful days in the lifespan of a design’s development. This is the first time a stranger is looking at the pattern, and the designer is worried there are going to be errors or confusion. And guess what — there may be! That’s okay. That is literally the point of pattern testing – to work out those kinks. In order to help ease the designer’s anxiety/stress levels, here are a few tips for the early days of testing:
If you notice minor typos and non-essential errors (that is, things that do not affect the design itself), refrain from putting those in the group chat right off the bat.
Communicating a lot of minor issues early on adds stress to the designer and can also cause confusion to other testers who may not have had a chance to look at the pattern yet. If it is an error with the stitch count or an instruction, then it is of course appropriate to communicate that question/issue in the chat. But you do not need to point out the 15 spelling mistakes you found on page 2 in the test chat. Send that to the designer via email (and let them know these are just minor typos you caught during your initial read, nothing pressing) or even save those fixes for your final feedback.
Be patient and courteous when you find an issue.
Your job as a pattern tester is to find errors in the pattern. So, don’t get frustrated if there are errors preventing you from starting right away or moving past a certain step. Communicate an issue you found as politely as possible and wait for the designer to respond. Many designers are working full time, are busy being parents, or have other obligations that prevent them from being able to drop everything, get the pattern out, and figure out how to fix it right away. So, you may not get an answer as soon as you’d like.
If you think something looks confusing but you haven’t actually gotten to that point in the pattern, wait to raise the issue until you get to that point in the pattern.
I cannot tell you how many times I read through a pattern and think, “What the fork?! I am never going to be able to pull that off.” And sure enough, when I actually get to that point in working up the design, when I have the stitches in front of my face physically, it suddenly makes sense.
It is not productive to raise something that you think is going to be an issue, but you don’t really know yet. This just causes unnecessary confusion and gets people nervous about the pattern at a point when you’re not prepared to help the designer actually figure out how to fix it (if a fix is needed at all).
Remember, it is not a race to find all the mistakes first. Wait until you’re in a position to be more helpful.
If you find an actual design-affecting error in the pattern (instruction error, stitch count, or something else that actually affects how the pattern works up, unlike a spelling typo), make sure you do mention that to the designer right away.
When you notice an error and (a) fix it yourself and say nothing; and/or (b) ignore it and move on without fixing it, not only are you potentially making the design wrong, but other pattern testers are then left to find the same issues on their own. And then the designer may be bombarded with 15 different testers sending them the same error when they find it in a few days. The designer is better off knowing about actual mistakes early on and fixing them so the testers who are behind you have the proper instructions when they get to that point.
♡♡♡
One other common frustration for designers in the early stages of pattern testing is when testers bail on a test shortly after receiving the pattern. The obvious advice: Dear testers… don’t do this! And if you do need to bail after receiving the pattern, proactively offer to pay for the pattern. But I am actually going to focus on advice to designers for this one:
Keep in mind that with most jobs in life, applying for the job is not an agreement to take on the job. Rather, it is an agreement to discuss taking on the job. So, new testers may not expect to be locked in simply because they applied.
My advice and preferred practice: After selecting your testers but before sending out the pattern PDF, send an email to the selected testers letting them know they have been selected and asking them to let you know by X date or time if they can no longer participate in the pattern test. This is especially important if there has been a lag of more than a few days between the application and the selection. Often, testers might assume they were not chosen (since most designers do not notify those who were not chosen), or something might come up during that in-between stage that changes the circumstances. Taking this approach lets them know they were selected without putting you at risk of sending a pattern to someone who cannot test after all. And testers: If you receive this email, let the designer know right away if you can no longer test. If they send you the pattern before you are able to respond, you need to be prepared to pay for the pattern.
If you are not able or wanting to do this, then at least make clear in the application that if they are selected they will be sent the pattern and expected to complete the pattern test without further confirmation, and that they will invoiced if they are not able to complete the test. This way they know to only fill out the application if they are 100 percent committed to seeing the test through.
Do not be afraid to invoice the tester who does this to you!
Make sure your application clearly states that they will be invoiced if they are not able to complete the pattern test. Assuming you’ve done that, the testers have already agreed to pay if they need to bail. So, do not feel bad asking them to pay! That was part of the agreement. You do not owe people who applied but did not actually test even a rough draft of your pattern. (If they do pay you, however, make sure to send them the updated pattern once it is released.)
♡♡♡
I hope you found this advice helpful! Not only can this help ease the designer’s experience with the inevitably stressful testing process, but it can also help ensure you are selected for future pattern tests!
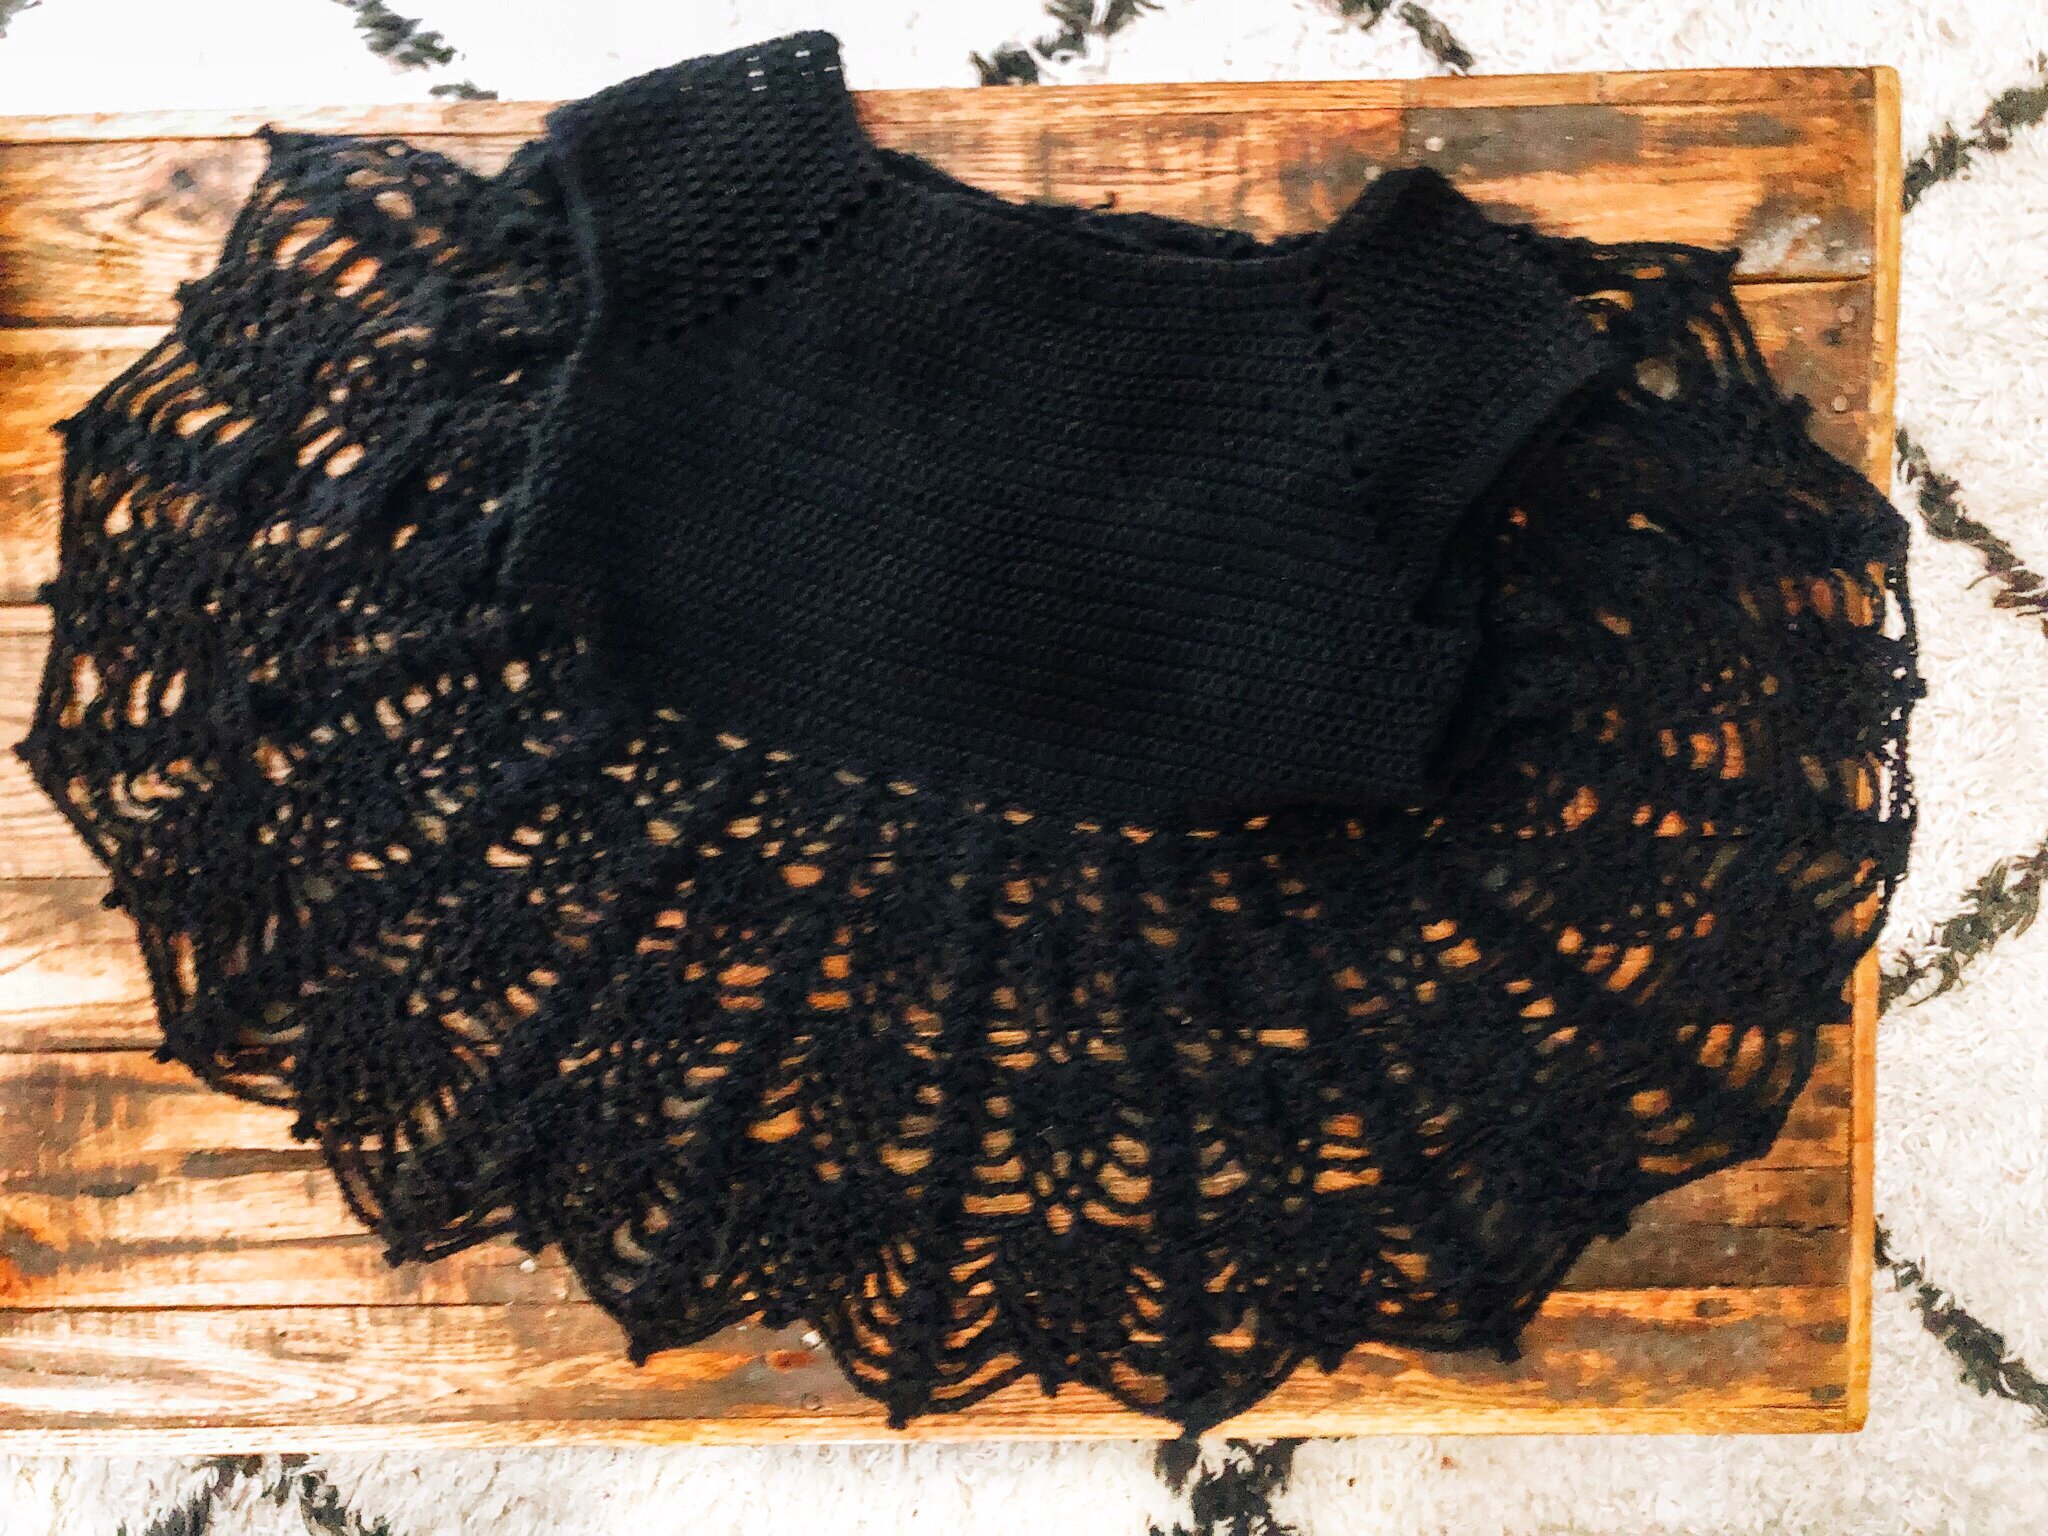
[Pictured above: @TheSkeiniac wearing the Vantis Peplum designed by @whiteowlcrochetco]